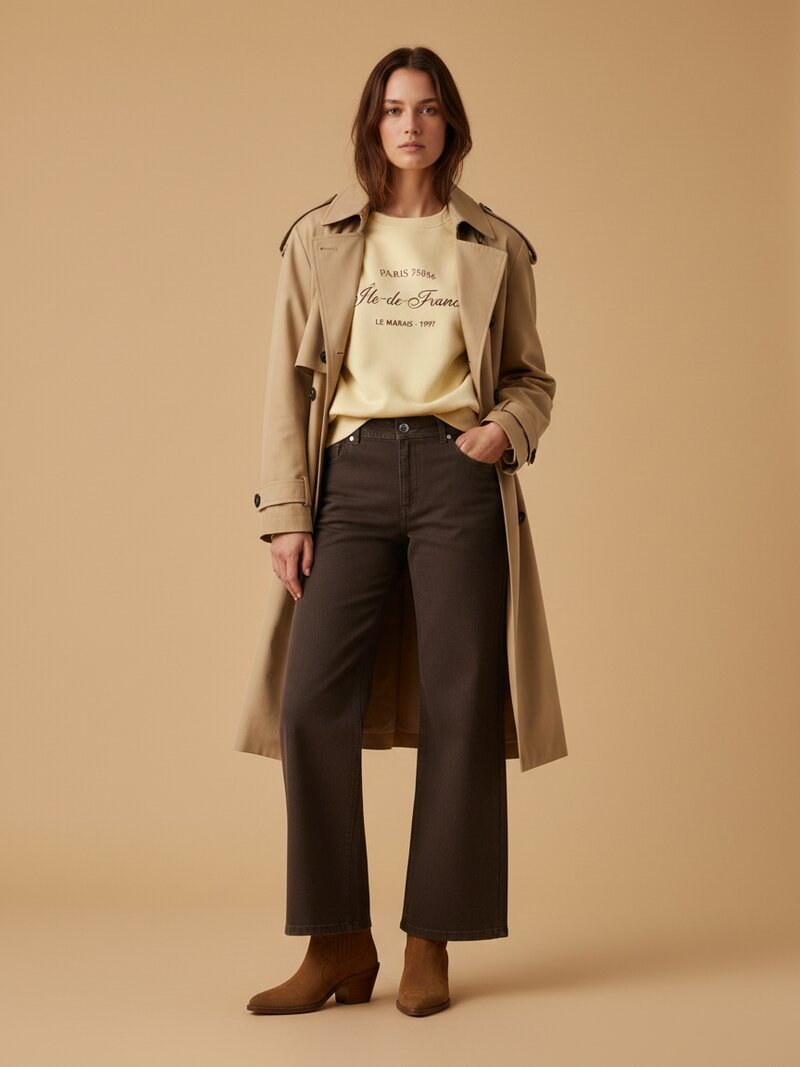
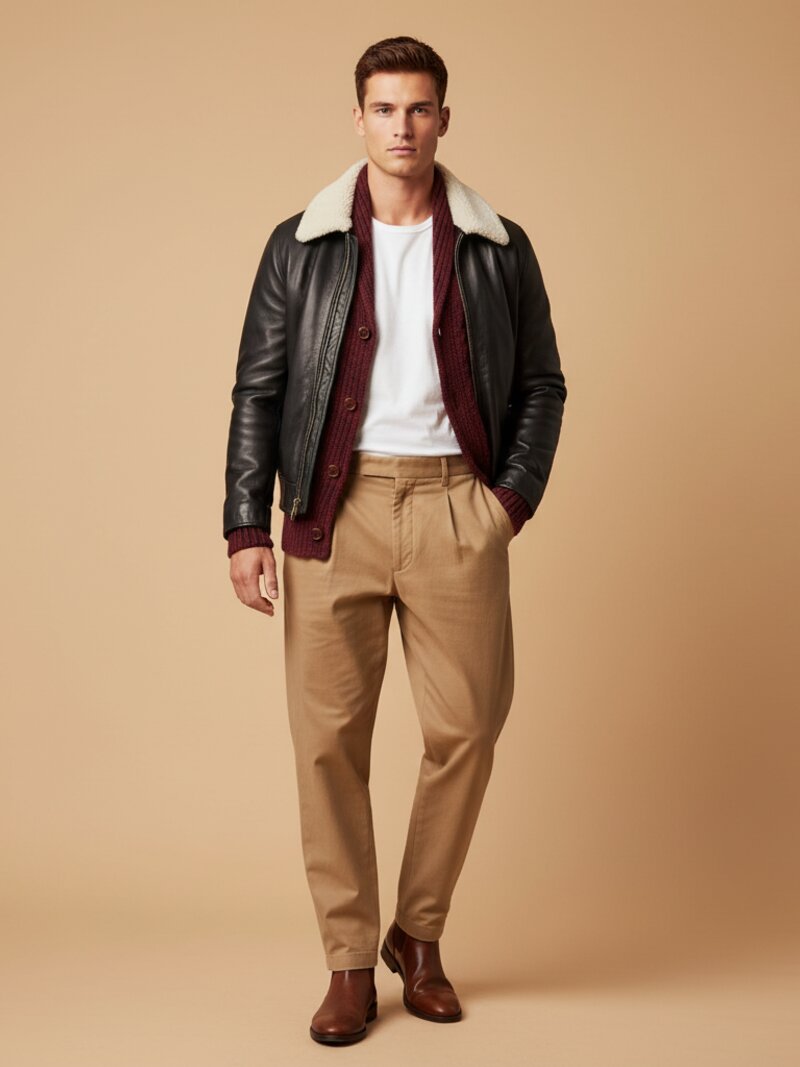
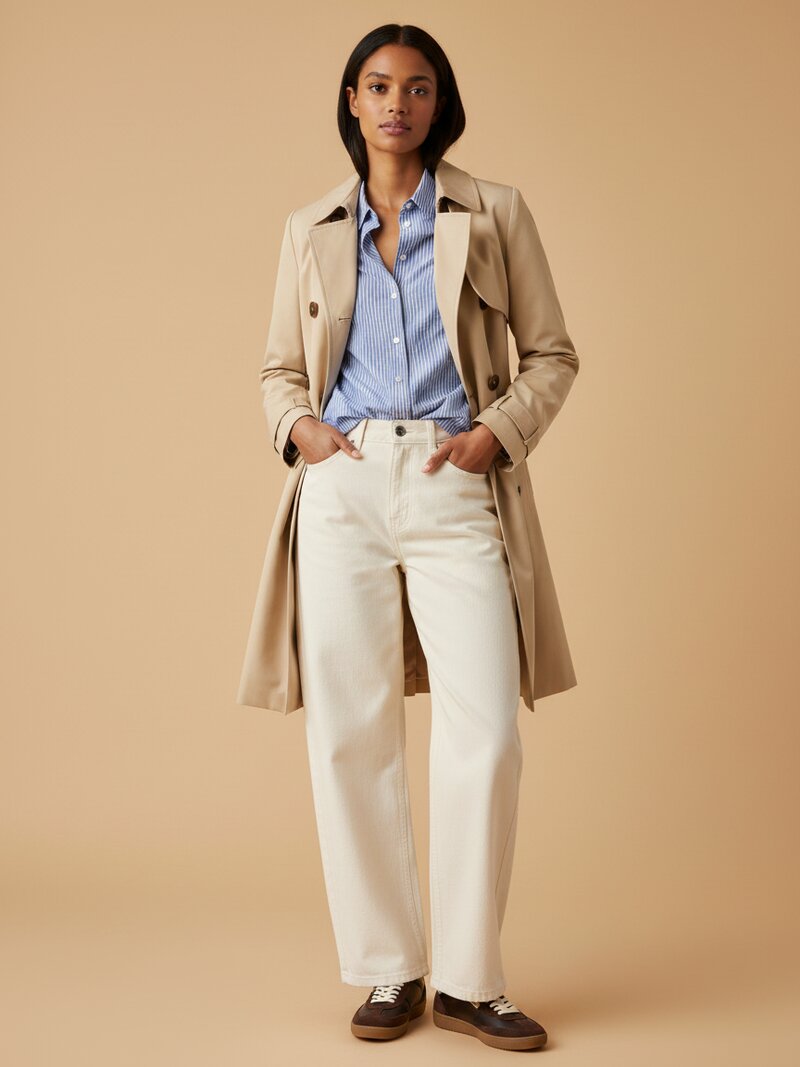
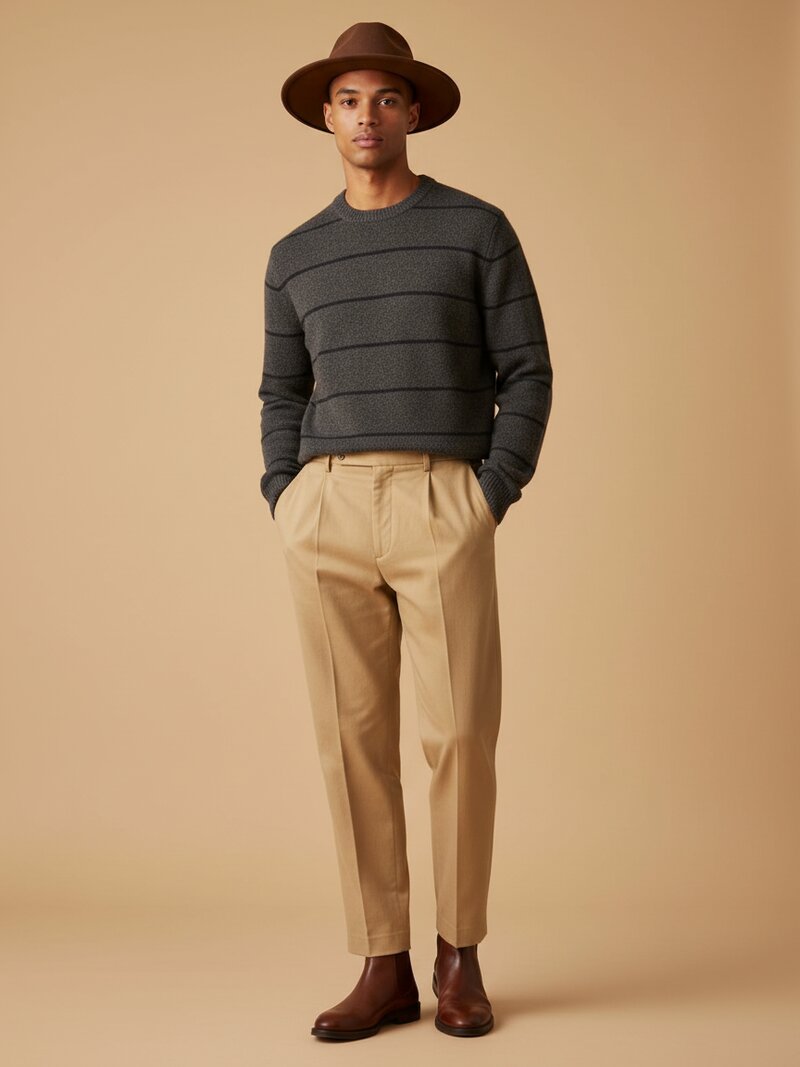
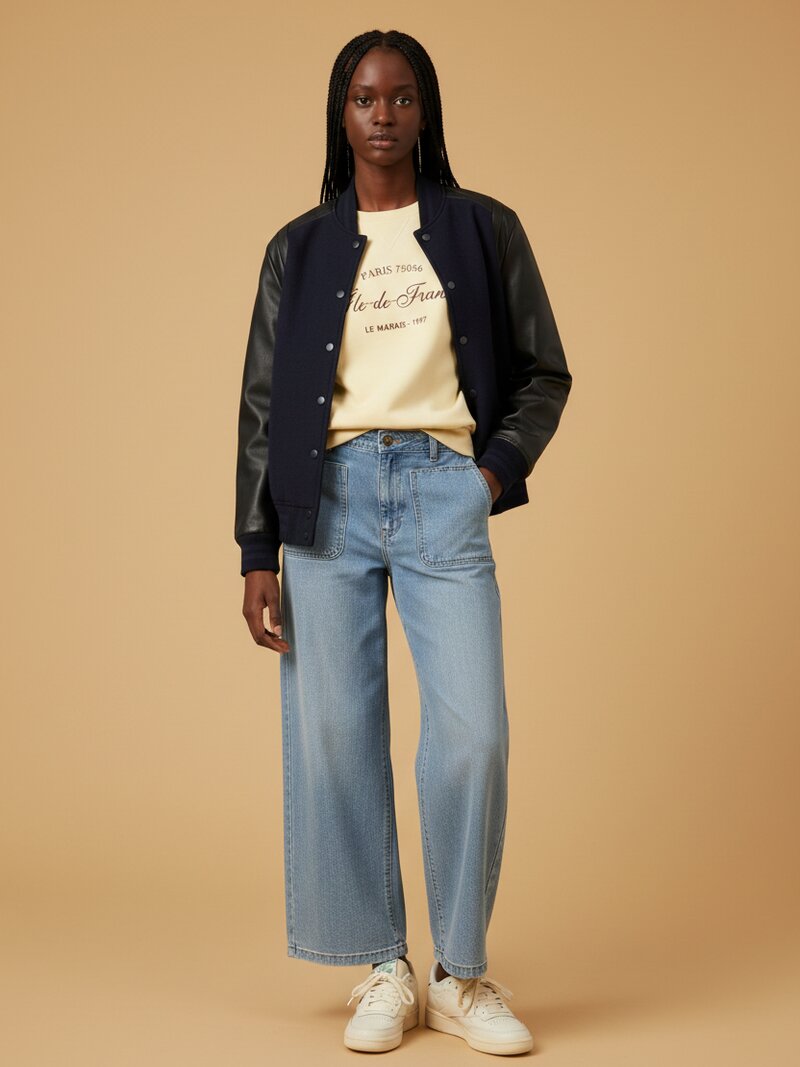
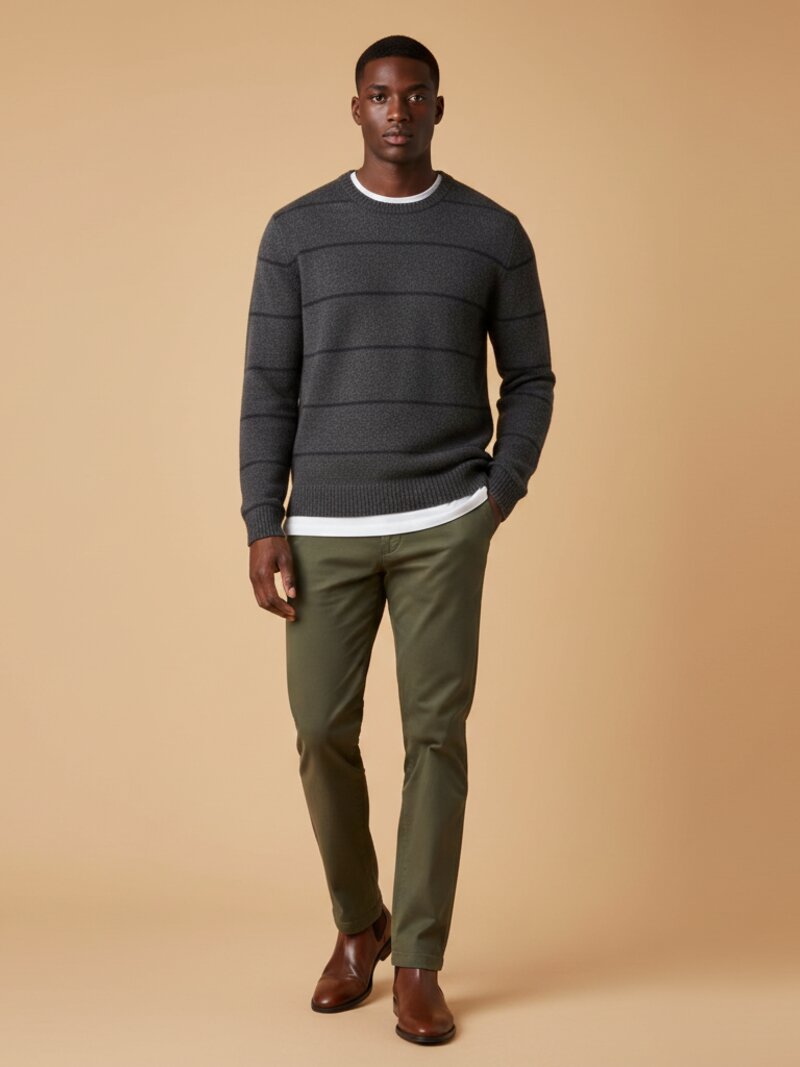
Real talk: nobody on Vinted reads your description first. Buyers are scrolling a wall of tiny thumbnails, and your photo either stops the thumb or it doesn't. The listings that sell fast almost always have one thing in common — you can see the item on a body, not crumpled on a bed. A worn photo answers the only question a buyer actually has ("how would this look on me?") before they've even tapped. Your photo isn't decorating the listing. Your photo is the listing.
Good news: taking photos that sell isn't a talent thing. It's five habits, and you can learn all of them in the next five minutes.
Light and background: the unsexy basics that do 80% of the work
Before angles, before poses, before anything else — light.
- Daylight beats everything. Shoot near a window during the day, item facing the light. Golden hour is lovely, but honestly, any daylight beats your ceiling bulb.
- Never use flash. It flattens texture, nukes the real colour, and screams "taken at 11pm in a panic."
- Plain background, always. A white wall, a clean door, a neutral duvet if you must. A messy room makes clean clothes look dirty by association.
- Portrait orientation, item filling the frame. Vinted thumbnails are vertical. A tiny hoodie floating in a huge photo is invisible in search results.
- Steam or de-wrinkle first. Wrinkles read as "worn and shoved in a drawer," even on something that's basically new.
None of this needs equipment. A window, a wall, and two minutes of care beat a ring light with zero thought behind it.
make this look from your own clothes
Stop scrolling generic looks. Snap your wardrobe, pick the occasion, and OutfitMaker builds the outfit from clothes you already own — then shows it on a model with Look Preview.
try it freeThe photo order that converts
Vinted lets you upload up to 20 photos. Most sellers throw in three random ones and wonder why nothing moves. Here's the order that actually converts:
- Cover photo: the item worn, on a body. This is the thumbnail, the first impression, the whole ballgame. On-body beats flat-lay every single time because buyers don't buy a rectangle of fabric — they buy how it hangs, where it hits, what it does on a real silhouette.
- Photos 2–3: clean full shots. Front and back, laid flat or on a hanger, plain background. This is where the buyer checks the actual shape and condition.
- Photos 4–6: the trust builders. Brand label, size tag, a fabric close-up, hardware like zips and buttons. Every detail photo is one less question in your DMs.
- Last photos: the flaws, honestly. Every stain, pull, bobble or faded print, close up and well lit.
The flaw photos feel scary — why would showing damage help you sell? Because on a secondhand platform, trust is the currency. When you hide flaws, buyers assume the worst and scroll on; when you show them clearly, buyers price them in, buy anyway, and leave you the five-star review that makes your next item sell faster. Hidden flaws are also the number one source of disputes and returns. Honesty is literally the profitable option.
What the rules actually allow (real photos vs AI, 2026 edition)
Quick compliance check, because this trips people up:
- Real photos of your actual item are required. Stock photos or catalogue images on their own aren't allowed — buyers need to see the exact item they're getting, in its current condition. That's non-negotiable on Vinted and basically every resale platform.
- AI-generated photos are fine as supplementary photos — as long as they faithfully show your actual item. An AI on-model shot of your jacket, with its real colour, real cut and real condition? Totally fine as photo 2 or 3. An AI image as your only photo, or one that makes the item look newer or nicer than it is? Not fine, and buyers will (rightly) call it out.
The rule of thumb: real photos prove condition, supplementary photos help buyers imagine wearing it. A great listing does both jobs — and honesty wins both.
The on-model problem (and the 20-second fix)
So the best cover photo is the item worn... and this is exactly where everyone gets stuck. You don't want to model your own stuff. Mirror selfies are awkward, the lighting's bad, your bedroom is in every shot — and maybe the item doesn't even fit you anymore, which is literally why you're selling it.
That's what OutfitMaker's resale photo is for. Snap the item (or pick it from your wardrobe in the app), and you get a clean on-model photo of your actual piece in about 20 seconds — real colour, real cut, no face, no bedroom floor. The first one's free, so you can test it on that listing that's been sitting unsold for weeks.
How to use it right:
- Keep your real photos as the proof: condition, flaws, labels.
- Slot the on-model shot in as photo 2 or 3 — it does the "how does it look worn" job your mirror selfie was failing at.
- If you make it your cover, put your real photos directly behind it, so buyers see the true condition within one swipe.
We shipped resale photos in July alongside unlimited wardrobe — here's everything new in OutfitMaker if you want the full rundown.
The 60-second checklist before you hit upload
- Daylight, no flash
- Plain background, wrinkles steamed out
- Portrait orientation, item fills the frame
- Cover photo: worn, on a body
- Front and back full shots
- Label, size tag, fabric close-up
- Every flaw photographed honestly
- 5–8 photos minimum
The sellers who move stuff fast on Vinted aren't lucky, and they don't own better clothes than you. They just make it effortless for a stranger to imagine wearing what you're done with. That's the whole game — and now you know how to play it.